We have a tabletop puppet theater that is similar to this...
but I'll be honest, I'm not crazy about it. It's a pain to put together and my three year old can easily knock it over...which means that I have to put it together repeatedly. So, I've ditched the fancy puppet theater, and have come up with a portable version that requires no set-up when the kids decide it's puppet time. It's so easy, I'm confident most kids can pull it out and set it up by themselves!
Supplies:
- Science Project Display Board
- Exact-o Knife/Razorblade
- Pencil/Marker
- Ruler/Straight Edge
- Small amount of fabric (*Optional)
- Small amount of cording, clothesline, etc. (*Optional)
- Duct Tape (*Optional)
- Glue Gun (*Optional)
Puppet Theater Directions:
- Use your pencil and ruler to lightly draw a window for the puppet show. You could get fancy with the shape, or use a simple rectangle. First, I measured 3 inches from the top and sides and made a mark. Then, I measured 14 inches down from the top edge for the bottom of the window. Using the ruler, I connected all of my marks. (All of these measurements will depend on the size of your display board.)

- Use the Exact-o knife to cut out the window, following the lines.

- Measure your window. (Or if you are into eye-balling things like me, hold up your fabric and guess how much you'll need.) You will need to add at least an inch or two to your length and width.
- Cut your fabric.

- Cut the fabric in half to make two panels.
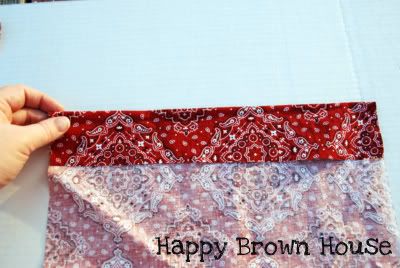
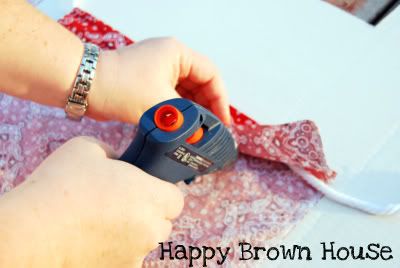
- Fold over the top of your fabric an inch and hot glue the edge. You will need a casing, or pocket to thread the cording through so make sure you leave enough space. (If you sew like I do, you can obviously do this on the sewing machine instead.)

- Repeat with the other curtain panel.
- Once the hot glue has cooled, thread the cording through the casing on the curtain.
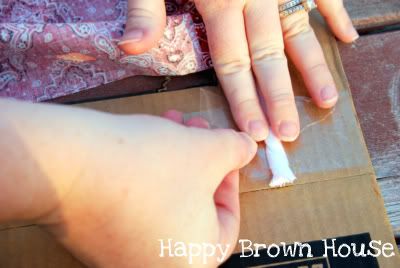
- Get out your handy roll of tape (MacGyver would be so proud!) and tape the ends of the cording on the back side of the window.

- Voila!

- Have a puppet show!

Need some puppets to go with your new puppet theater? Here are a few available on Amazon:
Make your own puppets with the kids!
- Simple Sock Puppets
- The Idea Room~Felt Finger Puppets Tutorial
- Whip-up~Winter Glove Puppets
Why a Puppet Theater? There are many reasons, but here are just a few:
- Encourages creative play
- Promotes language development
- Retelling of familiar stories
- If children can read, it promotes fluency


What a great puppet theater!! I will have to make one of these real soon!
ReplyDeletereally great idea!! I need to try it out too!!
ReplyDeleteSo glad you like the idea. Let me know if you make it!
ReplyDeleteLet me know if you make it! I'd love to see how it turns out for you!
ReplyDeleteWhat a cute idea! I am now following you...please stop by www.Areyouamom.com and say hi
ReplyDeleteThanks,
Maureen :)
I'm at Totally Tots today showing you how to make a Portable Puppet theater! http://bit.ly/klbsG3 #preschool #homeschool
ReplyDeleteThank you Maureen! Let me know if you make one!
ReplyDeleteLove this!! I linked to your idea today: http://dressesandmesses.wordpress.com/2011/05/19/simple-homemade-puppet-theater/
ReplyDeleteThanx for sharing!
Thank you this turned out great! http://noorjanan.blogspot.com/2011/06/30-minute-puppet-theater.html
ReplyDelete